
Once Annature's extension has been added to Chrome, follow the steps below to configure it and link it to your Annature account.
1. Gather account ID and Create API keys
Before you can use the Chrome extension, you'll need to gather your Annature's Account ID and generate keys.
💡 When retrieving your Account ID and generating the keys, it's advisable to copy this data to Notepad. This is because you won't be able to keep the tab open when copying from two different places.
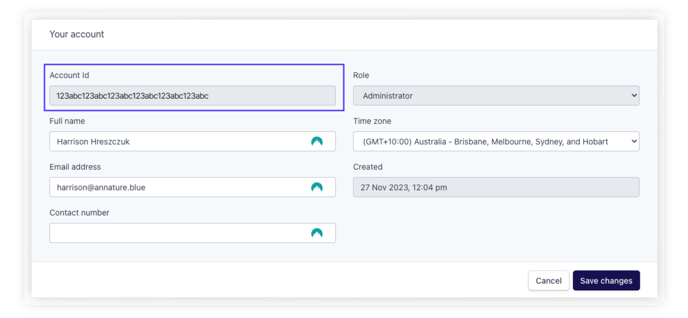
To retrieve your account ID, click the Profile icon at the top right, and then select My account.

You'll find your Account ID here.
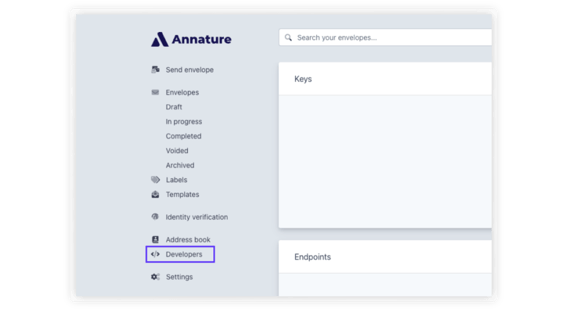
Next, go to the Developers page.
Select Create Key and enter a key name. We suggest using 'Chrome extension' as the key name to easily identify which keys are associated with which application, should you need to connect your Annature account to other applications in the future.
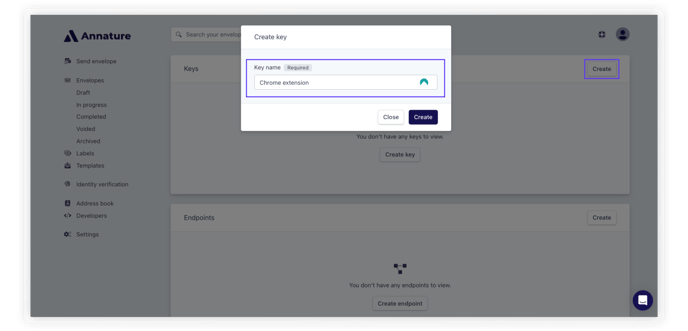
Click Create and you will be presented with a set of randomly generated letters and numbers. These letters and numbers are called API keys and will allow the extension to send documents for digital signing on your Annature account.
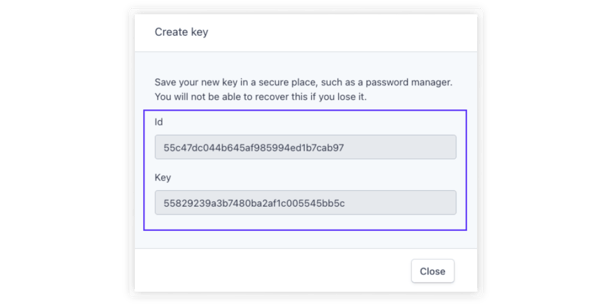
💡 It is important that you save your new keys in a secure place, such as a password manager, as you will not be able to recover them if you lose them.
After copying the Account ID, API ID, and API Key to your Notepad, you're ready to paste this information into the Annature extension.
2. Add API keys and account ID to extension
Proceed by clicking clicking the extension icon in the top right hand corner of chrome, bookmark Annature and open the extension.

Select the settings cog and enter your API ID, API Key, and Account ID, and click Save settings.

Navigate to chrome://extensions and locate the Annature extension.

Click on Details.
Scroll down slightly until you find "Allow access to file URLs" and toggle the button to ON.
