Field Auto Placement is a helpful feature that you can use when creating an Annature envelope or template. This smart tool is designed to automatically position Annature fields in specific areas of a document, reducing the chances of errors because you won't need to manually input recipient fields.
How Field Auto Placement works
Annature utilises anchor texts, which are instructional texts guiding Annature on where to place document fields.{% raw %}
For example, if you designate {{signature}} as the anchor text for the signature field of the document, Field Auto Placement will search for this exact text in the document and place the field where the text is.
Using field auto placement when creating a template
Simply prepare a document and insert the anchor texts where you wish the fields to be placed.
💡Tip: Make sure you make the font colour white to blend with the background and not visible during the signing.

After finalising the document with all necessary anchor texts, download it and upload it as a template in Annature.
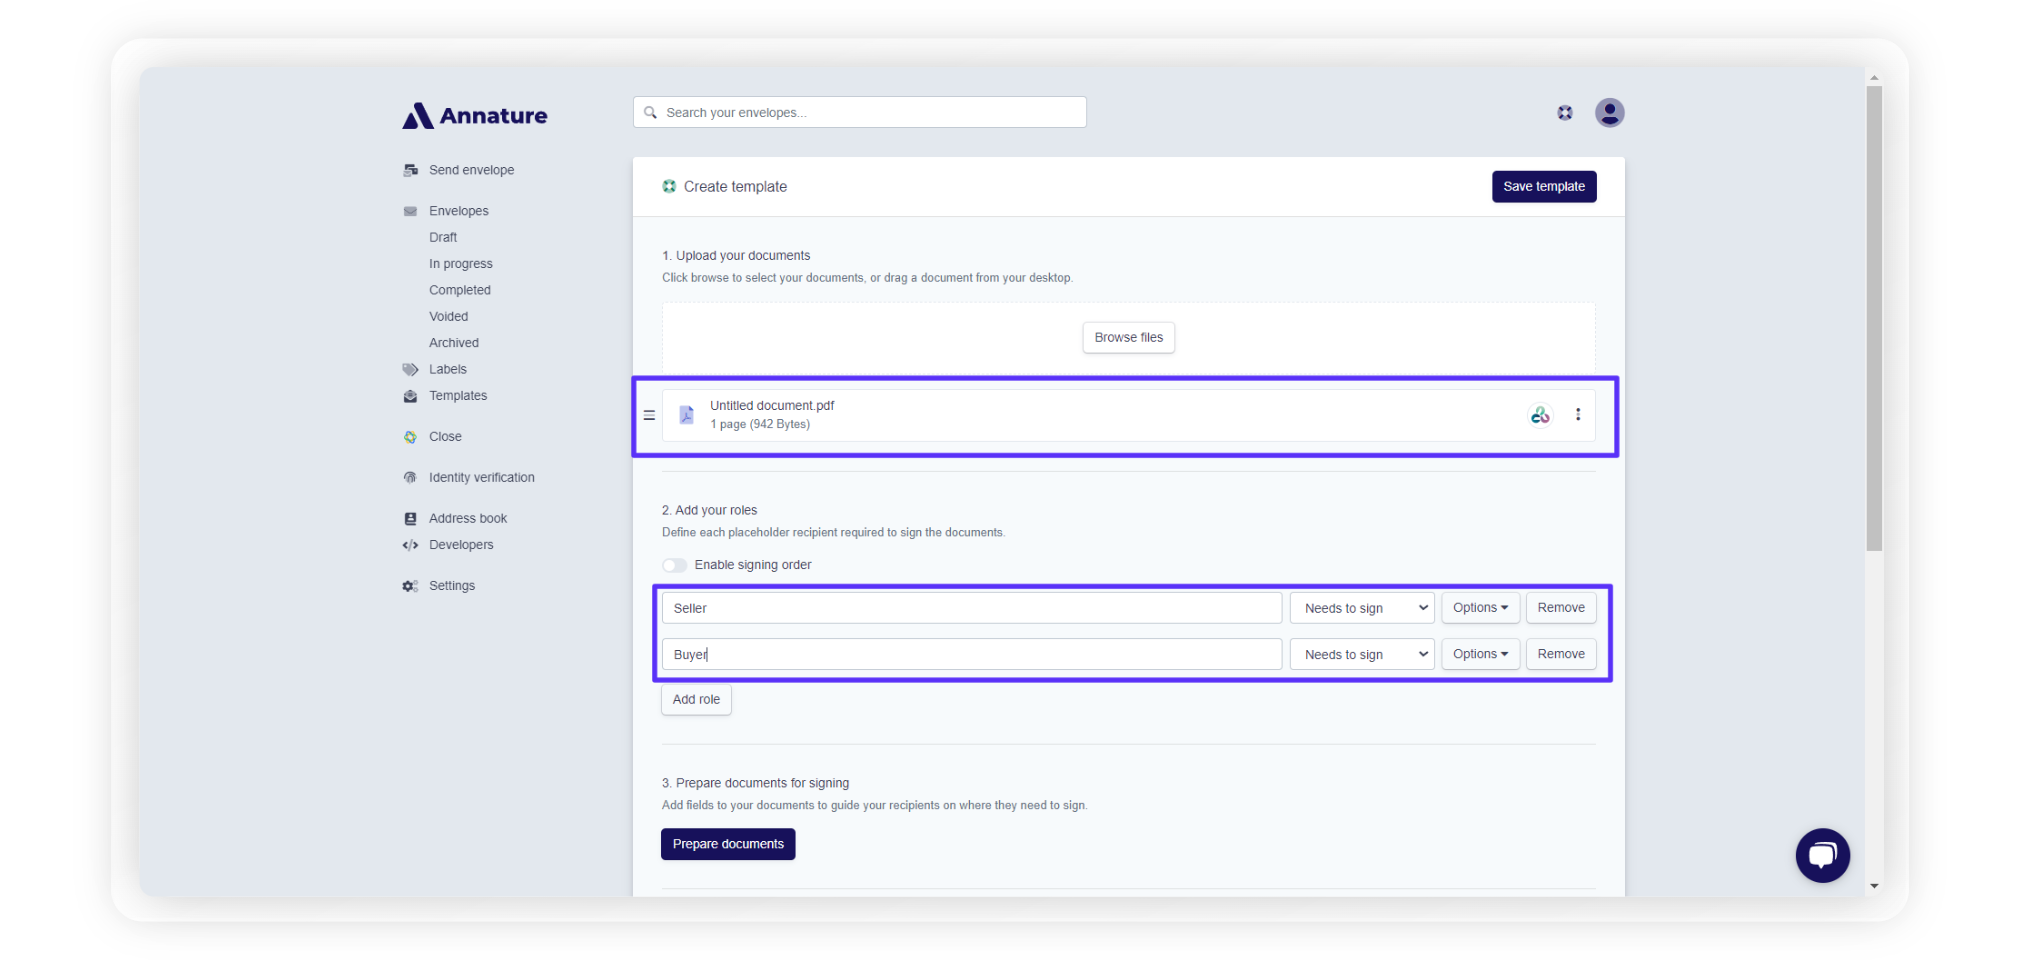
Navigate to Templates, select Create, and upload the document. Then, assign the recipient roles.

Click Prepare documents

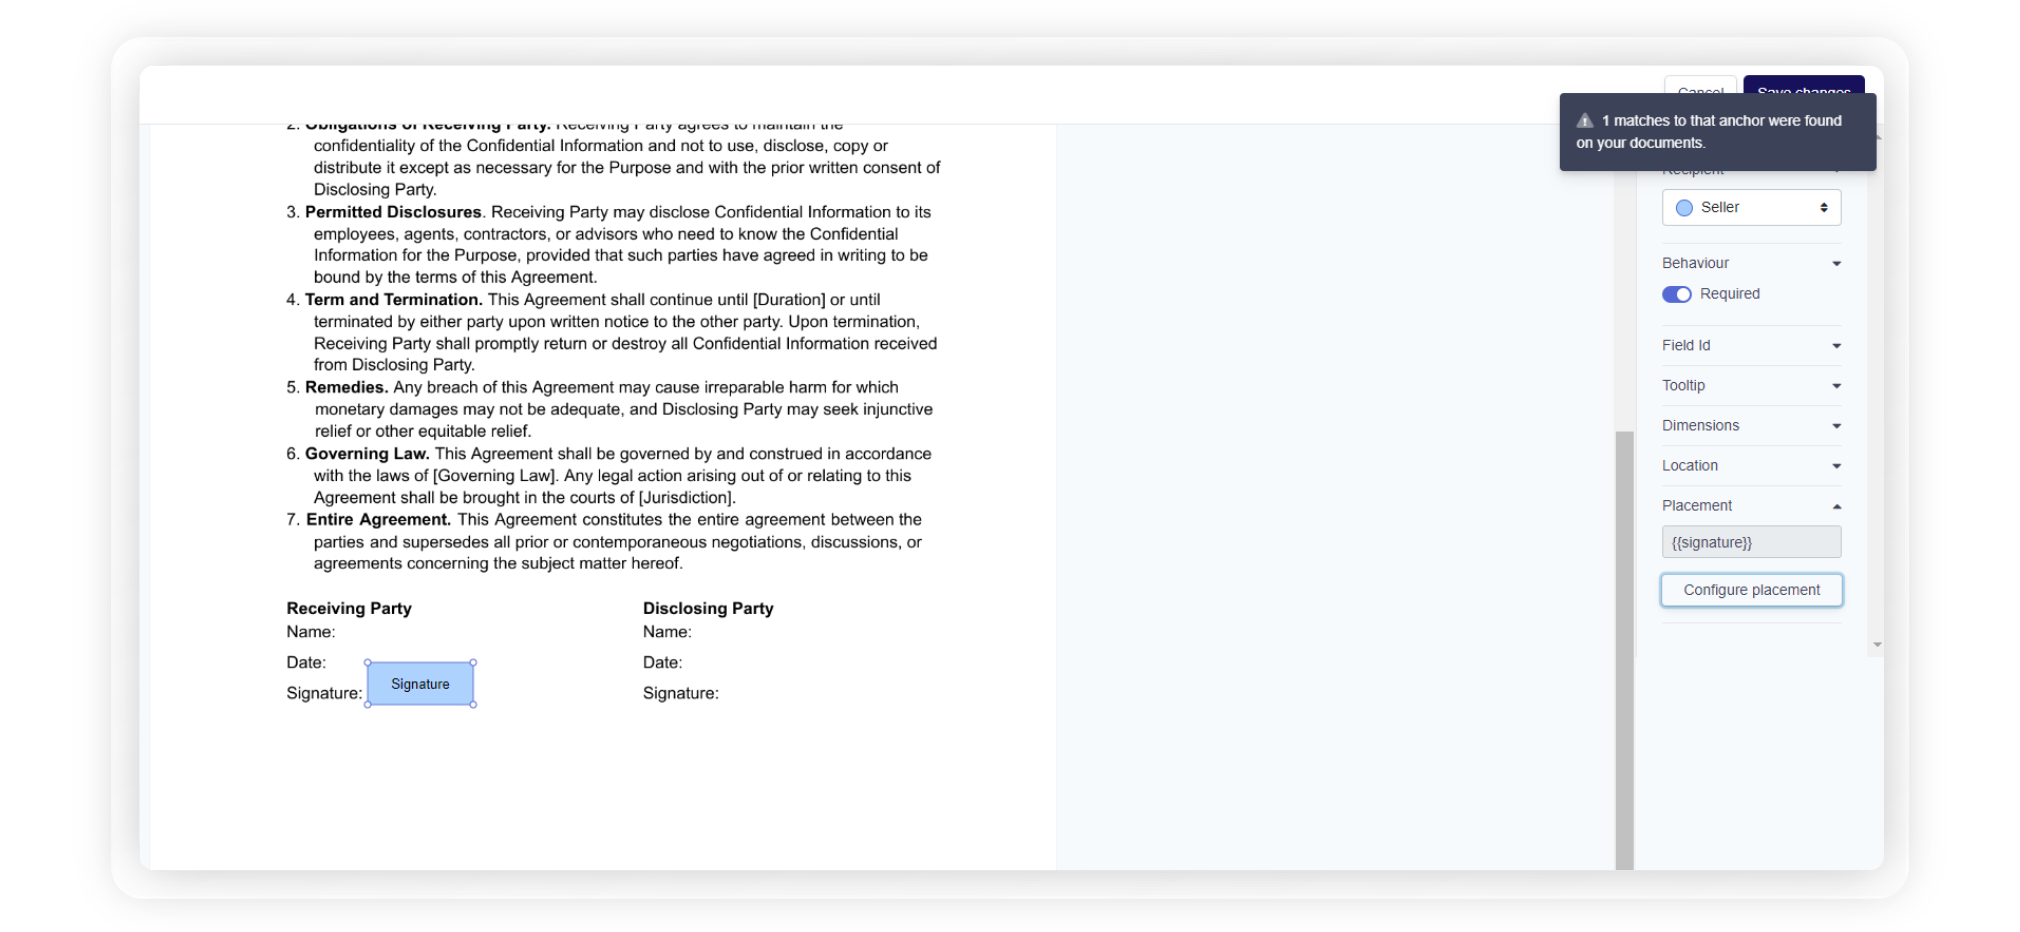
Drag a field corresponding to the anchor text you've set up. For example, drag a signature field if you've included a signature anchor text. At the bottom right, select Placement followed by Configure Placement.

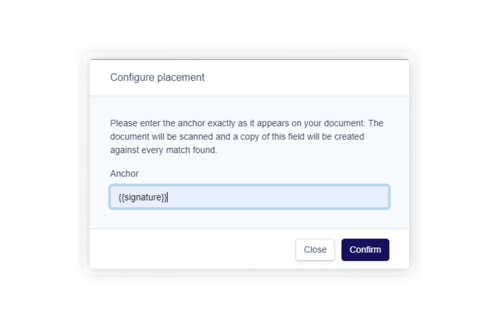
Then enter the anchor text exactly as it appears on your document. In this example, let's input {{signature}}

Select Confirm and the system will automatically overlay the field onto the anchor text.

Repeat the same process if you have anchor texts set up for other fields such as 'date signed' and 'name' fields. Once you're done, click Save changes.
Automatically place fields on any document
Another way to use Field Auto Placement is by creating an anchor template on a blank document. Once your anchor template is ready, and you go to send a document, there's no need to access to manually position the signatures and other fields.
Go to Templates, click Create and upload a blank document. Once done, add the recipient roles.

Click Prepare documents

Begin by dragging a field onto any part of the blank document and click on Placement. Next, click on Configure Placement, type in the anchor text, and then click on Confirm.

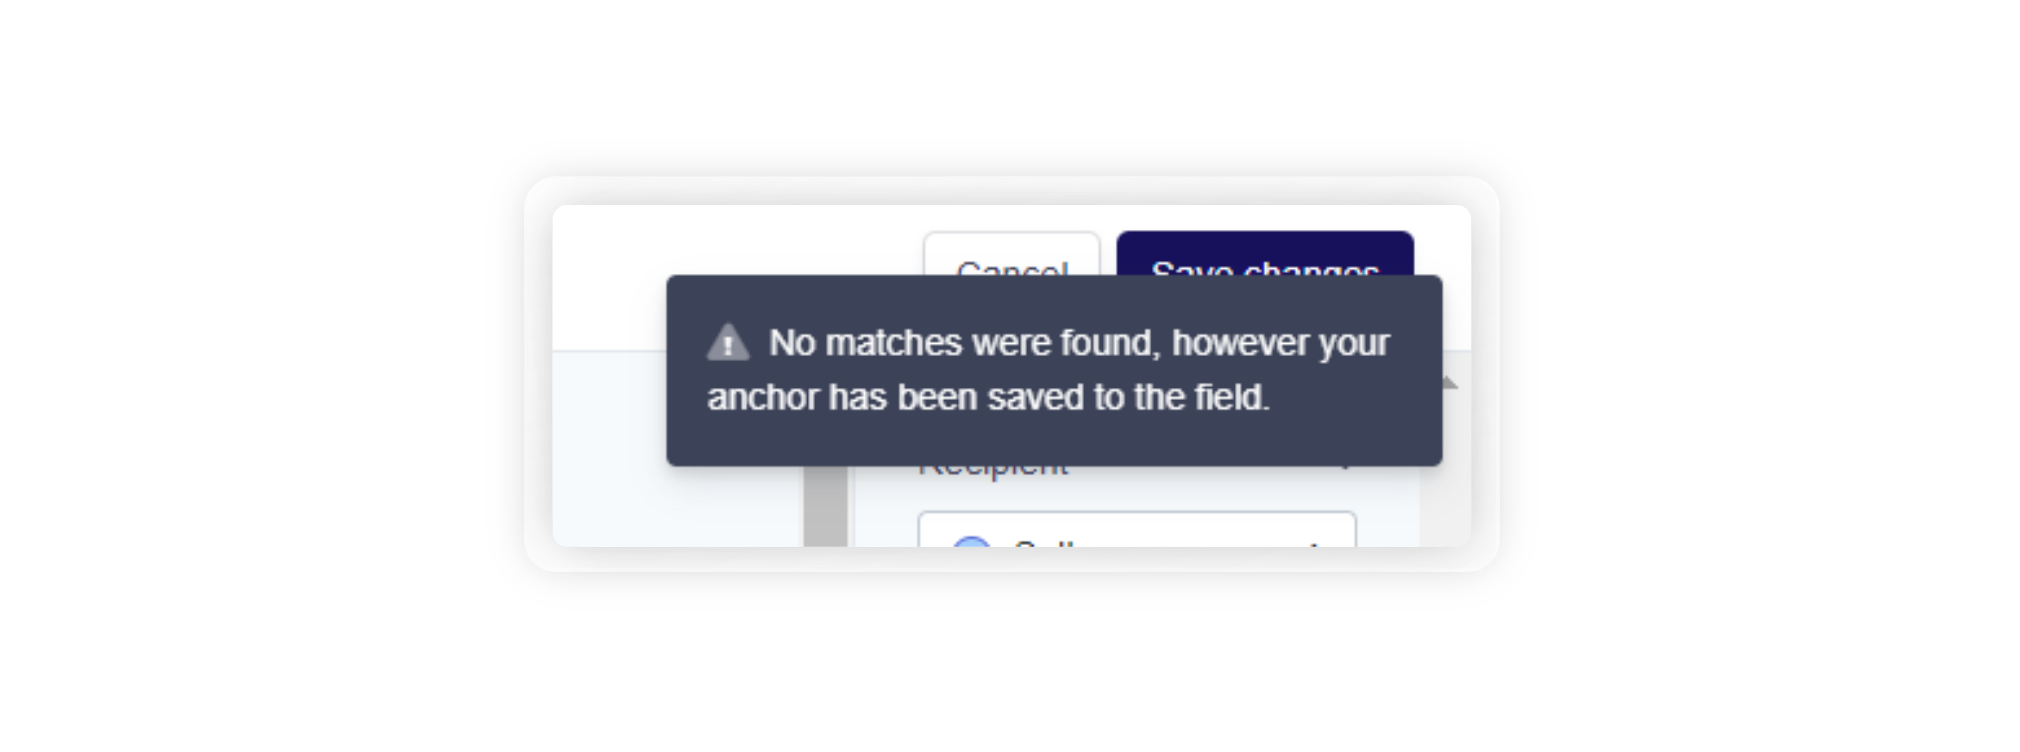
Disregard the message received as the main objective is to associate fields with the anchor texts used in your documents.

Repeat the same process if you have anchor texts set up for other fields such as 'date signed' and 'name' fields.
After completing the steps, click Save Changes and name your template 'Anchor Template' or any name of your choosing. Finally, click Save Template.
You can now apply this anchor template to any document you have whenever you're sending an envelope. To do this, click Send envelope and upload the document you want to get signed.
💡Ensure the document you upload already contains anchor texts for the Auto Placement to function correctly.
Add your recipient. Once done, click on the button on the right side of the document and select Apply template.

Select the anchor template and click Continue.

From here, simply select the anchor template and specify the recipient on your envelope for whom you are creating fields. Then, click Confirm.

You can click on Prepare Documents to check if the fields have been auto-populated on the document or if additional fields (text, witness, etc.) need to be placed. Once confirmed, proceed with the usual process of completing the envelope.
Using field auto placement for multiple recipients
This feature also works for multiple recipients. Just ensure you use distinct anchors for each recipient. For example, defined the receiving party's signature as {{signature}} and the disclosing party's signature as {{signature2}}

By using this method, you can create a system for multiple recipients simply by ordering the anchors.
