
Add fields to gather information from your recipients and guide them to where their signature is required.
Adding these fields will not only make the signing process more efficient but also ensure that all the necessary information is captured before the document is signed.
Once you have uploaded the documents and added the recipients, scroll down and click Prepare documents.

All of the documents you've added to your envelope will be shown in the middle of the page. You can also preview the pages on the right-hand side.
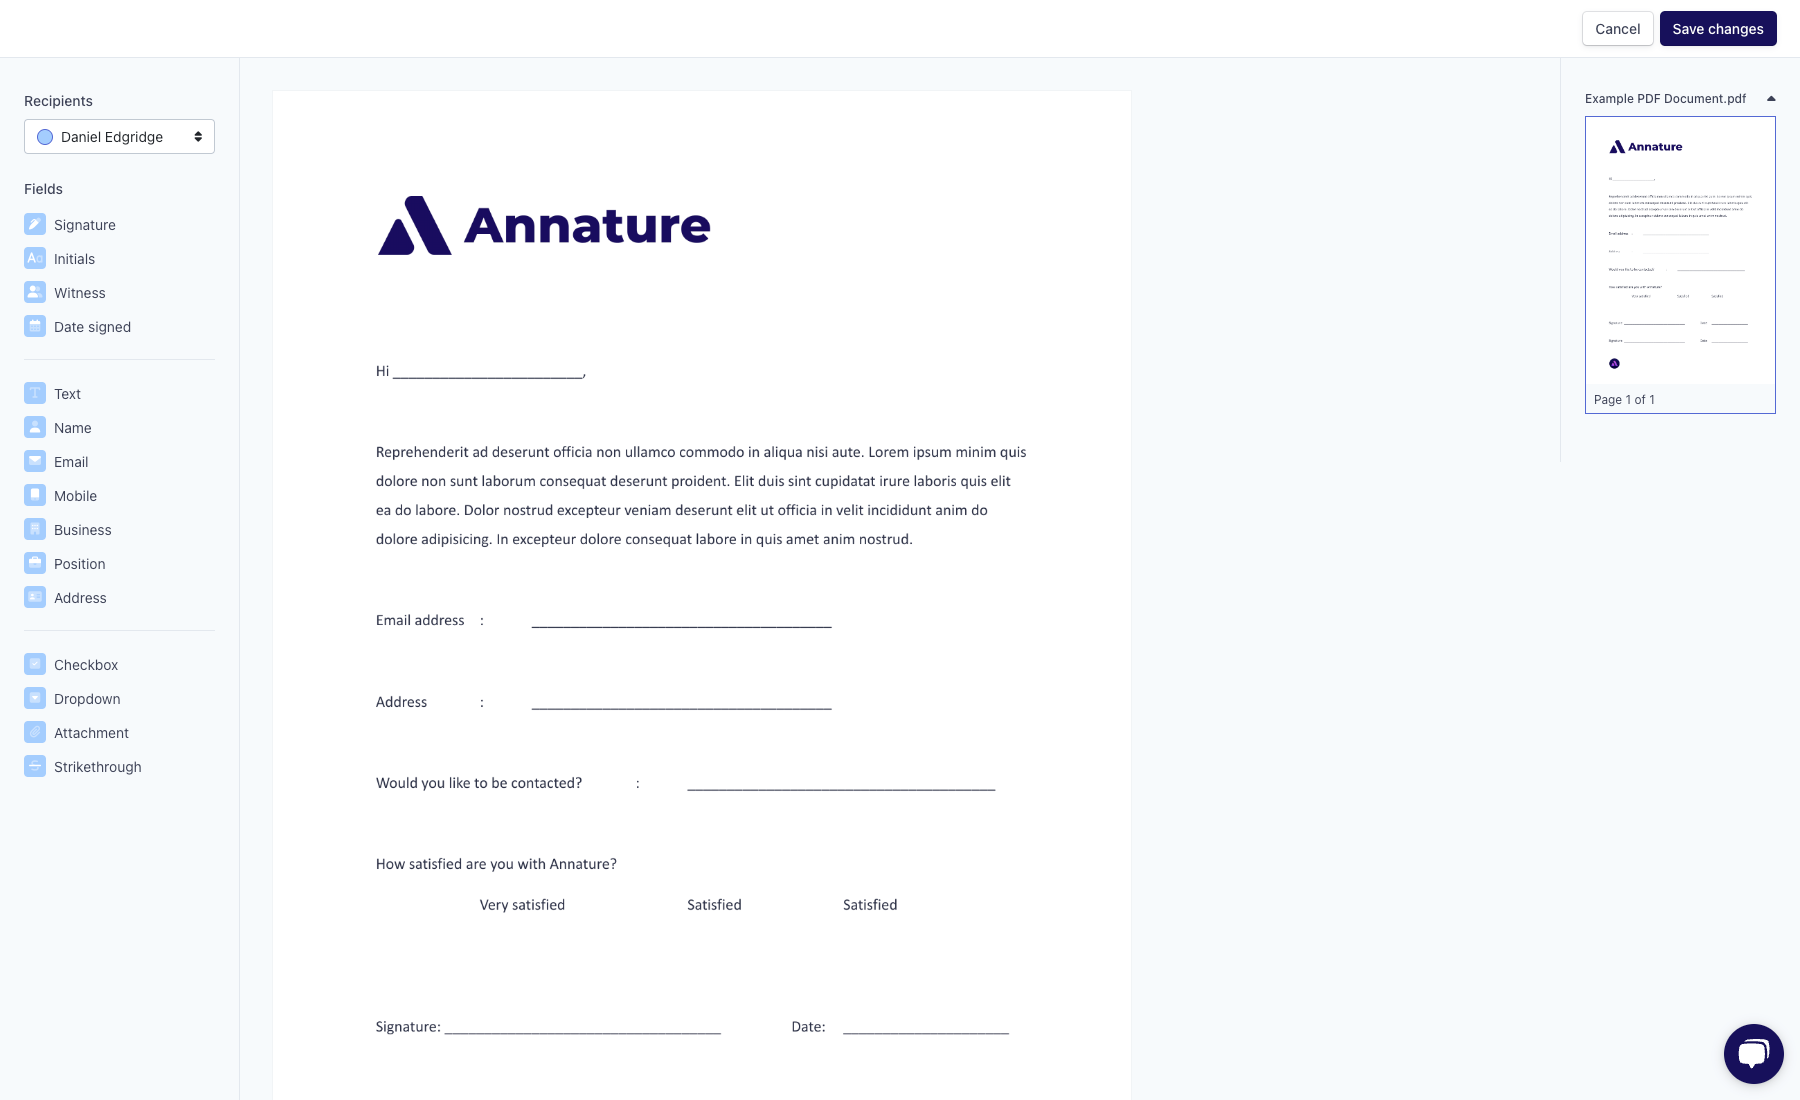
To add fields to your documents, start by selecting the recipient for whom you want to add a field in the upper left corner.

Next, simply click and drag the field you wish to add and drop it to the desired location in the document.

After adding the field to your document, additional options will become available on the right-hand side of the page.
Depending on the type of field you add, you can customise it in various ways. For example, you can change the field's recipient, adjust its formatting, make the field required for signing, or add a tooltip to help guide recipients on what the field is for.

💡 The customisation options may differ depending on the type of field you add, such as a signature field, a text field, or a date field.
Once you're done, click Save changes in the upper right corner of the page.